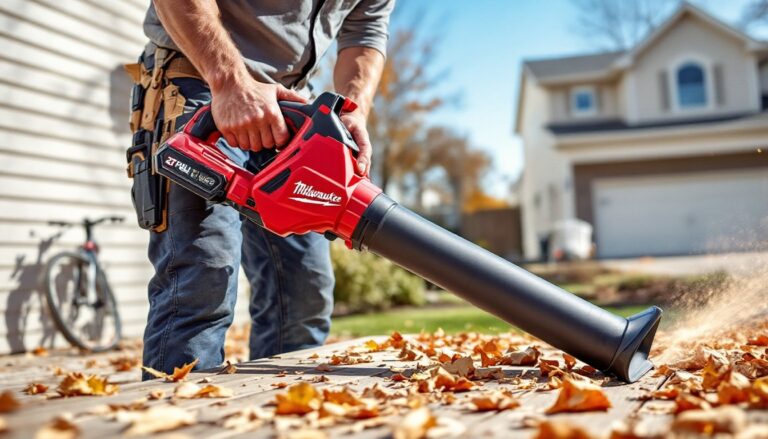
Drywall finishing separates clean renovations from amateur jobs. The difference between a ceiling that looks professionally done and one that screams DIY often comes down to sanding, specifically, having the right tool for it. Milwaukee’s drywall sanders have carved out a reputation among pros and serious DIYers for handling the dust, reach, and fatigue that make finishing drywall one of the least popular tasks on any project list. This guide breaks down what sets Milwaukee’s lineup apart, which model fits different project scales, and how to get results worth the effort.
Table of Contents
ToggleKey Takeaways
- Milwaukee drywall sanders feature M18 brushless motors and tool-free head adjustments that reduce fatigue and allow quick angle changes between walls, ceilings, and corners.
- A quality dust collection system with HEPA filtration is essential for health and compliance, capturing silica particles as small as 0.3 microns and preventing respiratory hazards.
- Choose between cordless M18 models for flexibility on room-sized projects or corded options for unlimited runtime on whole-house finishing jobs over 3,000 square feet.
- Consistent overlapping strokes with regular disc changes, proper prep work, and bright raking light are critical techniques that separate professional-looking results from amateur drywall finishing.
- Milwaukee drywall sanders are designed specifically for smooth and lightly textured surfaces; they aren’t suitable for heavy textures like knockdown or popcorn finishes.
What Makes Milwaukee Drywall Sanders Stand Out?
Milwaukee entered the drywall sander market later than some competitors, but they brought their M18 battery platform and brushless motor technology with them. That matters because drywall sanding demands sustained power without the weight penalty of corded tools dangling overhead.
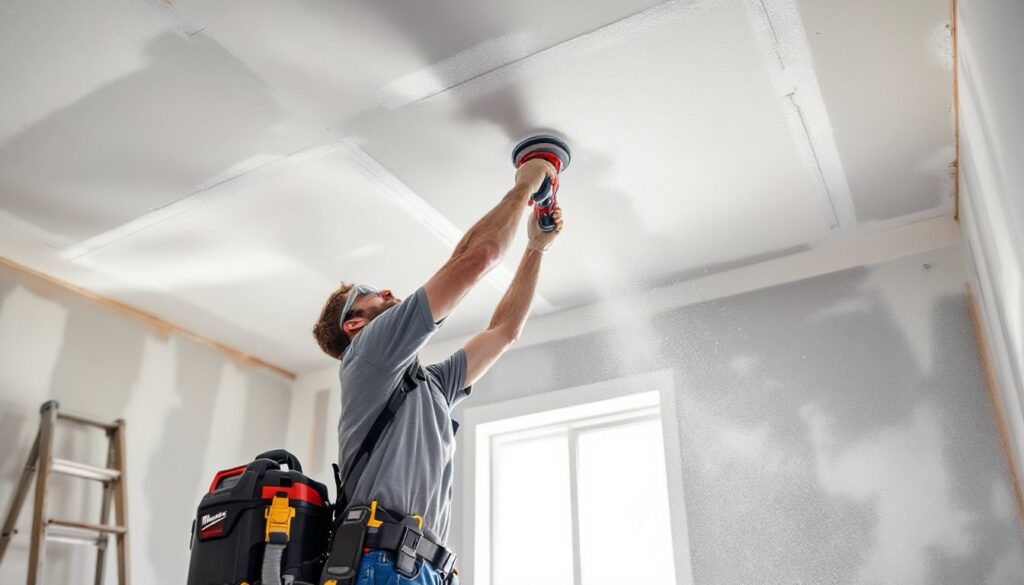
The brand’s M18 fuel brushless motor delivers consistent speed under load, which translates to fewer gouges and more even surfaces across long sanding sessions. Unlike cheaper orbital sanders adapted for drywall work, Milwaukee designs these tools specifically for vertical and overhead applications. The balance point sits closer to the user’s grip, reducing shoulder and arm fatigue during ceiling work.
Another standout feature is tool-free head adjustments. Most drywall sanders require wrenches or thumbscrews to change sanding angles, but Milwaukee’s quick-lock mechanism lets users pivot the head in seconds, critical when moving between walls, ceilings, and inside corners. The head locks firmly at multiple angles (typically 0°, 15°, 30°, and 45°), so there’s no drift mid-stroke.
Milwaukee also integrates with their existing battery ecosystem. Contractors and DIYers who already run M18 tools don’t need to invest in a separate battery platform. A single 5.0 Ah battery can handle roughly 1,000 square feet of sanding, depending on grit and pressure.
Key Features of Milwaukee Drywall Sanders
Power and Performance
Milwaukee’s drywall sanders use variable speed control ranging from approximately 1,000 to 2,000 RPM. Lower speeds work well for initial passes with coarser 80-grit or 120-grit paper, where aggressive material removal can create heat and paper loading. Higher speeds suit final passes with 180-grit or 220-grit for smooth finishes.
The brushless motor design reduces maintenance compared to brushed motors, which wear out carbon brushes and lose power over time. Brushless motors also run cooler, extending runtime per battery charge. In real-world use, this means less downtime swapping batteries on larger jobs, a full room of walls and ceiling on a 6.0 Ah battery isn’t unusual.
Most Milwaukee drywall sanders feature a 9-inch sanding head, the industry standard for covering area efficiently without sacrificing control in tighter spaces. The random orbital action (a circular pad that also oscillates) prevents swirl marks that show up under raking light, especially with glossy paints.
Dust Collection System
Drywall dust is a respiratory hazard and a cleanup nightmare. Milwaukee pairs their sanders with a HEPA filter dust collection system that captures particles as small as 0.3 microns, the fine silica dust that lingers in the air and settles on every surface.
The dust shroud surrounds the sanding pad and connects via a quick-release coupling to Milwaukee’s cordless or corded vacuums. Their M18 backpack vacuum is purpose-built for this setup, offering hands-free portability and enough suction to keep up with sanding speed. The vacuum’s 7-foot hose provides range without dragging the unit around.
Without proper dust collection, drywall sanding coats everything within 20 feet. HEPA filtration isn’t just about convenience, it’s about safety. Prolonged exposure to silica dust (present in joint compound) contributes to respiratory issues. The EPA and OSHA both have guidelines for controlling silica dust on job sites, and a quality dust collection setup helps DIYers meet those standards at home.
One tip: empty the vacuum filter frequently. Drywall dust clogs filters fast, and reduced suction means more airborne particles. Some users run a pre-separator bucket between the sander and vacuum to catch bulk dust before it reaches the filter.
Choosing the Right Milwaukee Drywall Sander for Your Project
Milwaukee’s current lineup includes corded and cordless options. The M18 Fuel 9-Inch Drywall Sander (model 2648-20) is the flagship cordless model. It’s ideal for remodels, basements, or any project where running extension cords to every corner becomes a hassle. Battery runtime suits most residential room-sized projects without mid-job charging.
For professionals or DIYers tackling whole-house drywall finishing, the corded model eliminates battery management. Unlimited runtime matters when facing 3,000+ square feet. But, cord management on ladders and scaffolding adds complexity, plan the power source layout before starting.
Both models accept hook-and-loop (Velcro-style) sanding discs, available in grits from 80 to 220. Stock up on multiple grits: 120-grit for initial leveling of seams and fastener dimples, 150-grit for smoothing, and 180 or 220-grit for final passes. Sanding discs wear faster on rough joint compound, so budget 8–12 discs per average bedroom.
Extension poles matter as much as the sander itself. Milwaukee’s sanders pair with standard threaded poles, but not all poles balance the same. A lightweight aluminum pole between 3 and 6 feet works for most ceiling heights without being unwieldy. Carbon fiber poles cost more but reduce fatigue on large jobs.
If the project involves multiple trades or long timelines, consider the tool’s dust-sealed switches and bearings. Drywall dust infiltrates everything, and cheaper sanders often fail when switches gum up. Milwaukee’s sealed components extend tool life on job sites where the sander sits in dusty conditions between uses.
Tips for Getting the Best Results
Prep work determines outcomes. Before sanding, check for high spots with a straightedge or drywall knife. Shave down ridges and lumps with a taping knife, sanders remove material slowly, and excessive sanding creates low spots that show up under paint.
Use consistent, overlapping strokes. Don’t linger in one spot: keep the sander moving to avoid gouges. Let the tool’s weight and pad do the work, pressing harder doesn’t speed things up and often burns through paper faster.
Safety gear isn’t optional. Wear a N95 or P100 respirator even with dust collection running. HEPA vacuums catch most particles, but not all. Add safety goggles (fine dust irritates eyes) and hearing protection if running the vacuum for extended periods.
Light matters more than most DIYers expect. Sand under bright, raking light (a work light positioned low, aimed across the wall) to reveal imperfections. Shadows expose ridges, dimples, and uneven areas invisible under overhead lighting. Fix problems before priming, primer amplifies flaws rather than hiding them.
Change sanding discs regularly. Loaded (clogged) paper stops cutting efficiently and starts burnishing the surface, creating a slick spot that won’t accept paint evenly. If the paper looks glazed or you’re making multiple passes without progress, swap it.
After sanding, wipe walls with a damp sponge or tack cloth to remove residual dust. Painting over dust leads to poor adhesion and a gritty finish. Some pros use a shop vacuum with a brush attachment before wiping.
For textured ceilings or walls, drywall sanders aren’t the right tool. They’re designed for smooth or lightly textured surfaces. Attempting to sand heavy texture (like knockdown or popcorn) clogs paper instantly and damages the texture pattern.
Conclusion
Milwaukee’s drywall sanders bring pro-grade features, brushless power, effective dust collection, and tool-free adjustments, to a task most people dread. Whether choosing cordless flexibility or corded endurance depends on project scale and site conditions. Pair the sander with proper dust collection, quality abrasives, and methodical technique, and the results rival professional finishes without the labor cost.